Videos are excellent educational resources because they’re stimulating and involving. They present information visually, and they create a more meaningful experience for the learner.
However, before starting recording them, you must consider objectives, target audience, strategy to be followed, tools required, and available budget. This will ensure better results, higher engagement, and optimization of your investment.
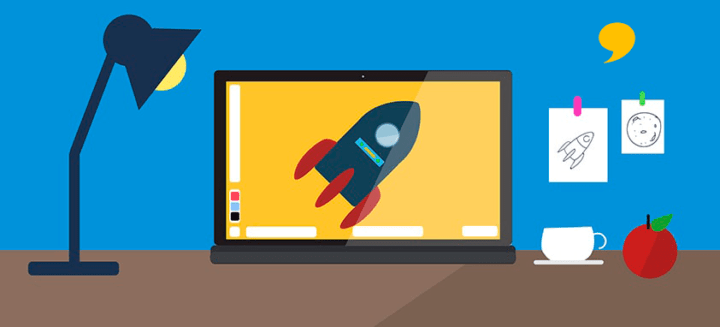
Now discover 4 production tips for educational videos:
Tip #1: Set your objectives and investigate your target audience
The first step is setting the objectives to be reached with the video. Check out some examples:
- Showcase a tool;
- Introduce a concept;
- Summarize a lesson;
- Increase engagement with a given topic.
Next, analyse your target audience to understand the language to be adopted and which narrative-building strategies will reach your audience.
Tip #2: Choose a strategy
Now that you already know your objectives and who your target audience is, choose the strategy for approaching the topic. Consider learners’ engagement and learning efficacy at this stage.
It’s common to create short videos to maintain spectators’ attention. However, it’s also possible to produce longer videos using interactive strategies like fragmenting it in chapters, for example.
Check out some examples of strategy:
- Informative video: video with an actor recorded in studio introducing concepts or other information;
- Product presentation: shows product features and advantages with clear and objective information;
- Case study: analyses a concept with more depth, focuses on the study itself and its conclusions, it may be an interview, a testimonial or a presentation;
- Animation: uses narrated and spoken text, images and icons to convey even more complex concepts.
- Seminar: careful here! Someone may know a concept in depth but have little skills to transmit knowledge. Find out who’s going to make the presentation, discuss duration and topics that will be covered.
Tip #3: Plan and create a detailed script
The script is the third step in the creation of an educational video. It describes everything that’s going to happen in the video second by second, including texts, camera framing, lighting, set, etc. In case you’ve chosen to produce an animation or another more complex format, it may also be necessary to create a storyboard. It’s a static, visual representation of each scene.
This is also the moment to think about the cast of actors and narrators that are going to be hired and where the video will be produced. Decisions made during the script stage impact on all of the following production stages.
The more time you dedicate to planning and creating your script, the better the use of your investment will be.
Tip #4: Use adequate tools
Now you already know your objectives, your target audience, the strategy to be adopted, and you have scripts and storyboards. It’s time to analyse the tools required to produce your educational video.
Adequate tools ensure better final quality and shorter production time. It’s usually necessary to use a high-definition camera, microphone, lighting, set and props, make up, costumes, teleprompter, chroma-key, and editing software.
Kaptiva has a multidisciplinary audiovisual team and a fully equipped studio to produce your educational videos. Click here to know more!